

Account page
Account settings is where you manage the account itself: who can sign in, the tokens your integrations use, the environments your agents report into, the model providers hosted judges run on, Slack notifications, and your plan. Open it from the user menu under your avatar at the top right, then choose Account settings.
- Admin users - the people who can sign in, and their roles.
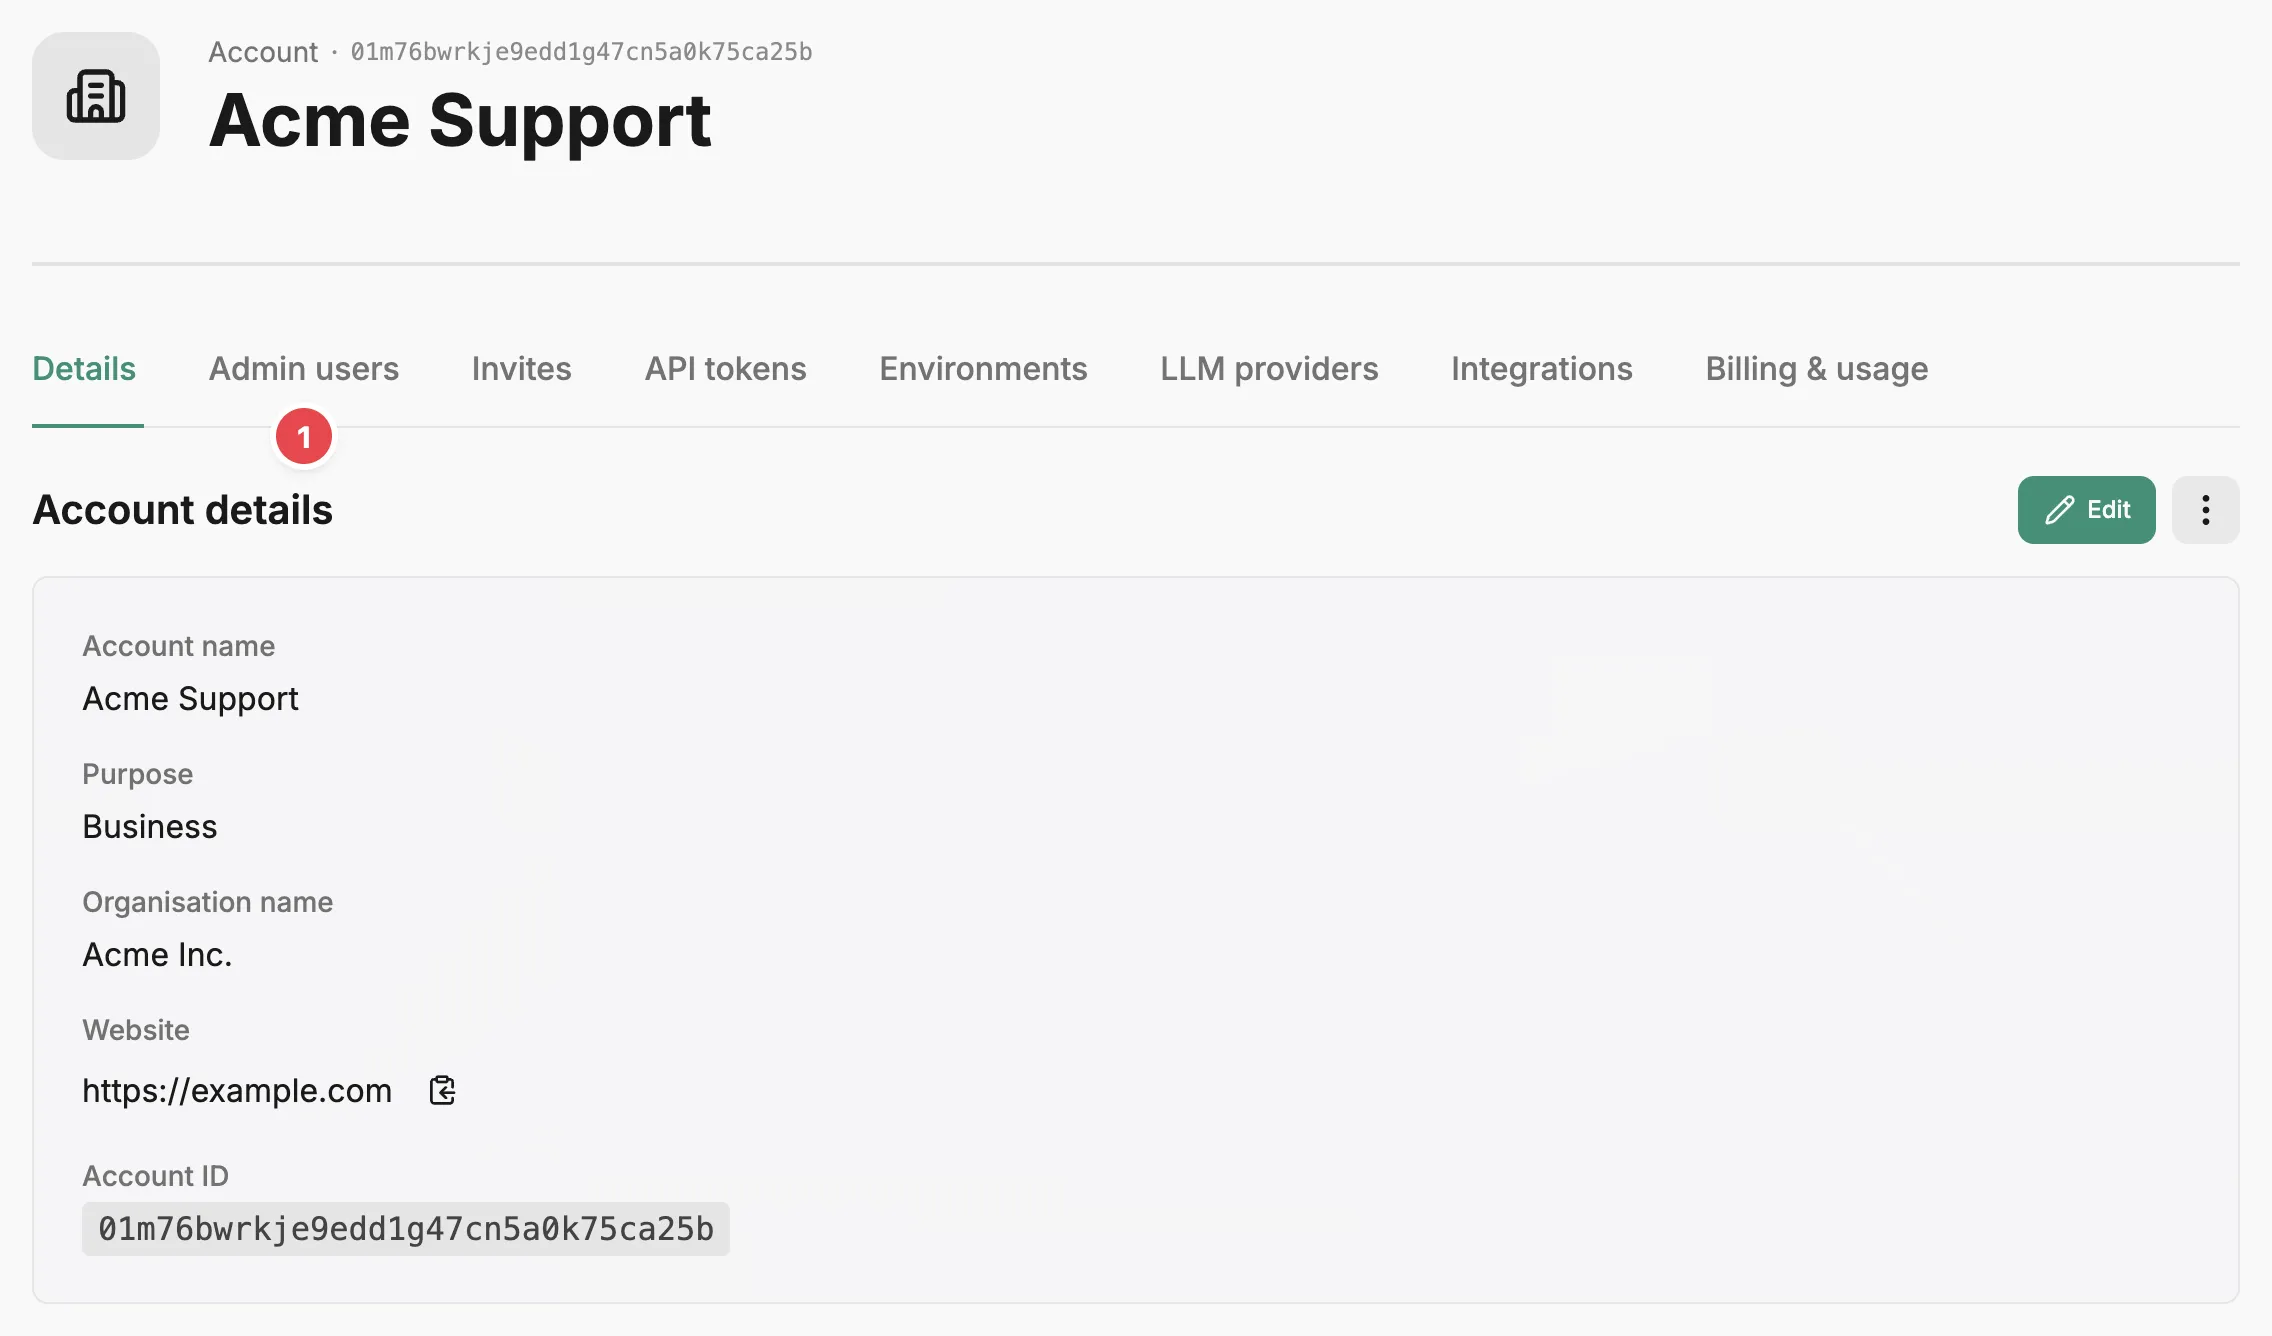
The account name and account ID stay at the top while you switch tabs. The ID is the one to quote in support requests.
- Details tab — the account name, purpose, organisation, website, and ID, and the control that deletes the account.
- Admin users tab — the people who can sign in to the account, and their roles.
- Invites tab — invite someone, resend an invite email, or revoke an invite.
- API tokens tab — account-wide tokens for the SDKs, the CLI, and your scripts.
- Environments tab — the environments your deployments and runs belong to.
- LLM providers tab — the language model providers and models that hosted judges run on.
- Integrations tab — connect Slack and choose which account events send notifications.
- Billing & usage tab — your plan, and how many spans the account recorded each month.
Every admin user, invite, and API token has one of two roles. Full access can view and change everything in the account. Read only can view everything but can’t change anything.
Read-only users see the same screens and buttons as everyone else, apart from Upgrade plan on the Billing & usage tab. When they try to save, create, or delete something, Prefactor refuses the change and shows an error. You choose a person’s role when you invite them, and change it later on the Admin users tab. The Account concept page covers what each role allows.
Related
Section titled “Related”- Account — what an account is, what it contains, and how roles work.
- LLM provider — what providers and models are.
- Invite an admin user — add someone to the account with the right role.